Table of Contents
Ready to give your toes a glamorous makeover? This guide is your passport to the world of easy nail designs for toes for beginners! Forget complicated salon appointments and expensive manicures – we're diving into simple, stunning designs you can easily do at home. Whether you're a complete novice or just looking for some fresh inspiration, we've got you covered. Get ready to explore classic solid colors and elegant French manicures, add some sparkle with glitter and shimmer, and master basic nail art techniques like stripes and dots. We'll even show you how to adapt your designs for different seasons, from summer brights to cozy winter hues. So grab your favorite nail polish, and let's get started on creating fabulous, easy-to-achieve toe nail art that'll have you showing off your perfectly polished peep-toes all year round!
Simple Solid Colors & French Manicures: The Classics
Simple Solid Colors & French Manicures: The Classics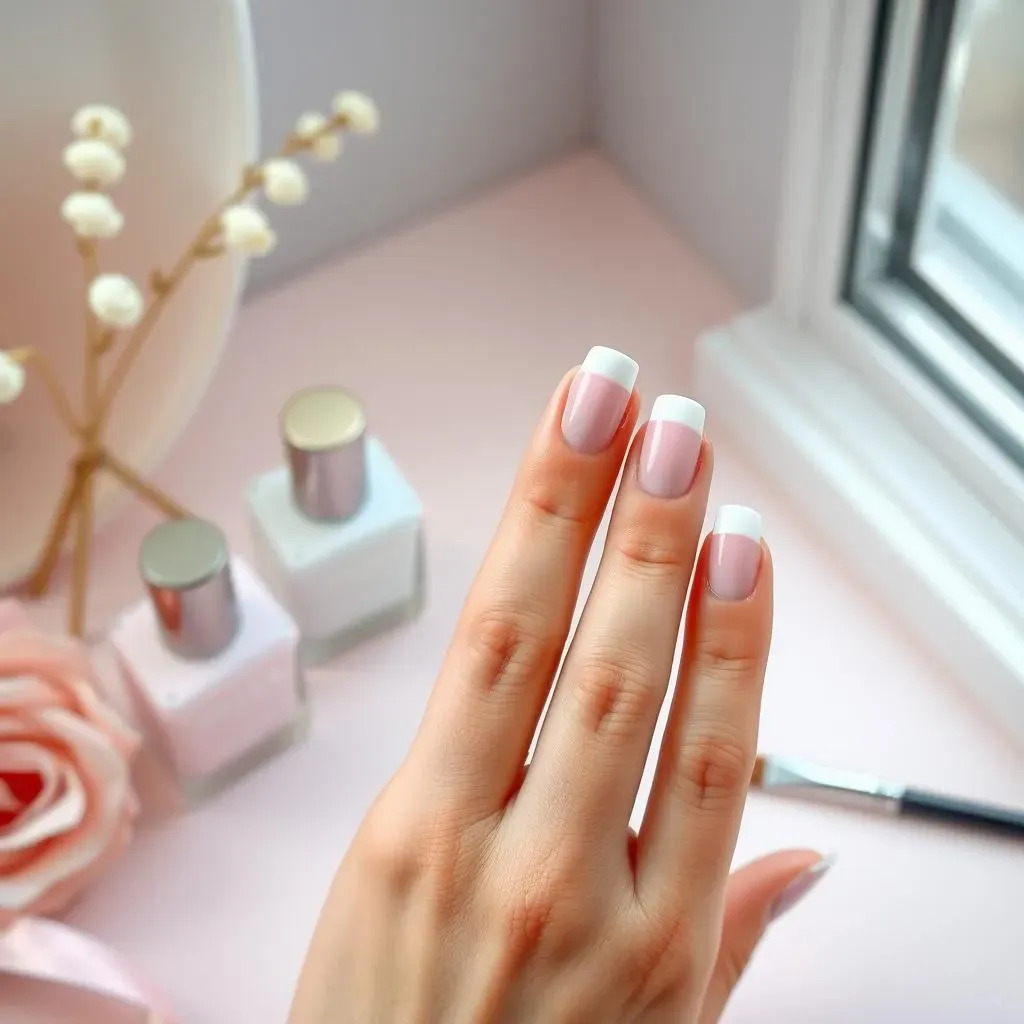
The Allure of a Single Shade
Let's start with the simplest, most elegant option: a single, solid color. Think of it as the little black dress of nail art – versatile and always chic. A classic red, a sophisticated nude, or a vibrant summery yellow – the possibilities are endless! The beauty of solid colors lies in their simplicity; they let your natural nail shape and color shine through. Plus, they're super easy to apply. Just two coats and you're good to go! For a really polished look, consider using a base coat to protect your nails and a top coat for extra shine and longevity. Need some inspiration? Check out these simple black nail designs for a sophisticated touch.
Consider your skin tone when choosing a color. A creamy nude will complement fair skin, while deeper shades like burgundy or dark chocolate look fantastic on warmer tones. Don't be afraid to experiment! Try out different shades to discover your perfect match. If you're unsure where to start, a classic red or a soft pink is always a safe bet. For a more detailed guide on achieving a perfect manicure, check out our step-by-step guide.
Color | Season | Style |
|---|---|---|
Classic Red | Any | Elegant |
Nude Pink | Spring/Summer | Subtle |
Deep Blue | Autumn/Winter | Sophisticated |
The Timeless French Manicure
The French manicure is a timeless classic for a reason. Its clean lines and subtle elegance never go out of style. It's also surprisingly easy to achieve, even for beginners. The key is to use a thin brush for the white tips, creating a neat, even line. If you're feeling a bit less confident, you can use nail art striping tape to help you create perfectly straight lines. This method is perfect for those who want a polished look without the hassle of freehand painting. For a more detailed look, explore these easy French tip designs.
Beyond the traditional white tips on a pale pink base, feel free to experiment! Use different shades of polish for a unique twist. A black and gold French manicure is incredibly chic, while a pastel color combination is perfect for spring. You can even try a reverse French manicure, painting a contrasting color at the base of your nail instead of the tip. The possibilities are truly endless. And remember, practice makes perfect! Don't get discouraged if your first attempt isn't flawless. With a little patience and practice, you'll be creating stunning French manicures in no time. Looking for more simple ideas? Check out our collection of simple nail designs.
- Use a thin brush for precise application.
- Consider using striping tape for perfectly straight lines.
- Experiment with different color combinations.
Adding Sparkle: Glitter and Shimmer for Festive Toes
Adding Sparkle: Glitter and Shimmer for Festive Toes
Glitter Mania: Easy Ways to Add Some Shine
Let's talk glitter! It's the easiest way to instantly elevate your toe nail game. Think of it as the confetti of the nail world – fun, festive, and perfect for adding a touch of sparkle to any occasion. You can achieve a simple glitter look by applying a layer of glitter polish over a base coat of your favorite color. For a more intense sparkle, try layering several coats of glitter polish. If you want more control over where the glitter goes, try using a glitter glue or a fine glitter powder. Apply it with a small brush for more precision. These easy and cute nail designs offer some great ideas.
Don't be afraid to experiment with different glitter colors and sizes. Fine glitter creates a subtle shimmer, while chunky glitter adds a more dramatic effect. You can even mix and match different glitters for a truly unique look. For example, layer a fine gold glitter over a base coat of deep red for a luxurious holiday feel. Or try a mix of pastel glitters for a fun, spring look. For more inspiration on achieving unique looks, explore these easy nail art designs at home.
- Use a glitter top coat for an easy shimmer.
- Apply glitter with a small brush for precision.
- Experiment with different glitter colors and sizes.
Shimmering Shades: Subtle Sparkle for Everyday
If you're not a fan of chunky glitter, a shimmer polish is a fantastic alternative. Shimmer polishes contain finely milled particles that create a subtle, elegant sparkle. They're perfect for everyday wear, adding a touch of sophistication without being overly flashy. Apply them just like regular nail polish – two coats should do the trick. You can layer a shimmer polish over a solid color for a more complex look. For example, a shimmery silver over a dark navy creates a striking combination. Looking for some more simple ideas? Check out our extremely easy nail designs.
Shimmer polishes come in a vast array of colors, so you're sure to find one that matches your personality and style. From subtle pearly whites to iridescent blues and greens, the options are endless. Consider the occasion and your outfit when selecting a shimmer polish. A subtle gold shimmer is perfect for a formal event, while a playful pink shimmer is great for a casual summer day. For more festive ideas, check out our easy Valentine's Day nail designs.
Shimmer Type | Best For | Example Color |
|---|---|---|
Fine Glitter | Subtle Sparkle | Rose Gold |
Chunky Glitter | Bold Statement | Silver |
Shimmer Polish | Everyday Elegance | Pearl White |
Easy Nail Art Techniques for Beginners: Stripes, Dots, and More
Easy Nail Art Techniques for Beginners: Stripes, Dots, and More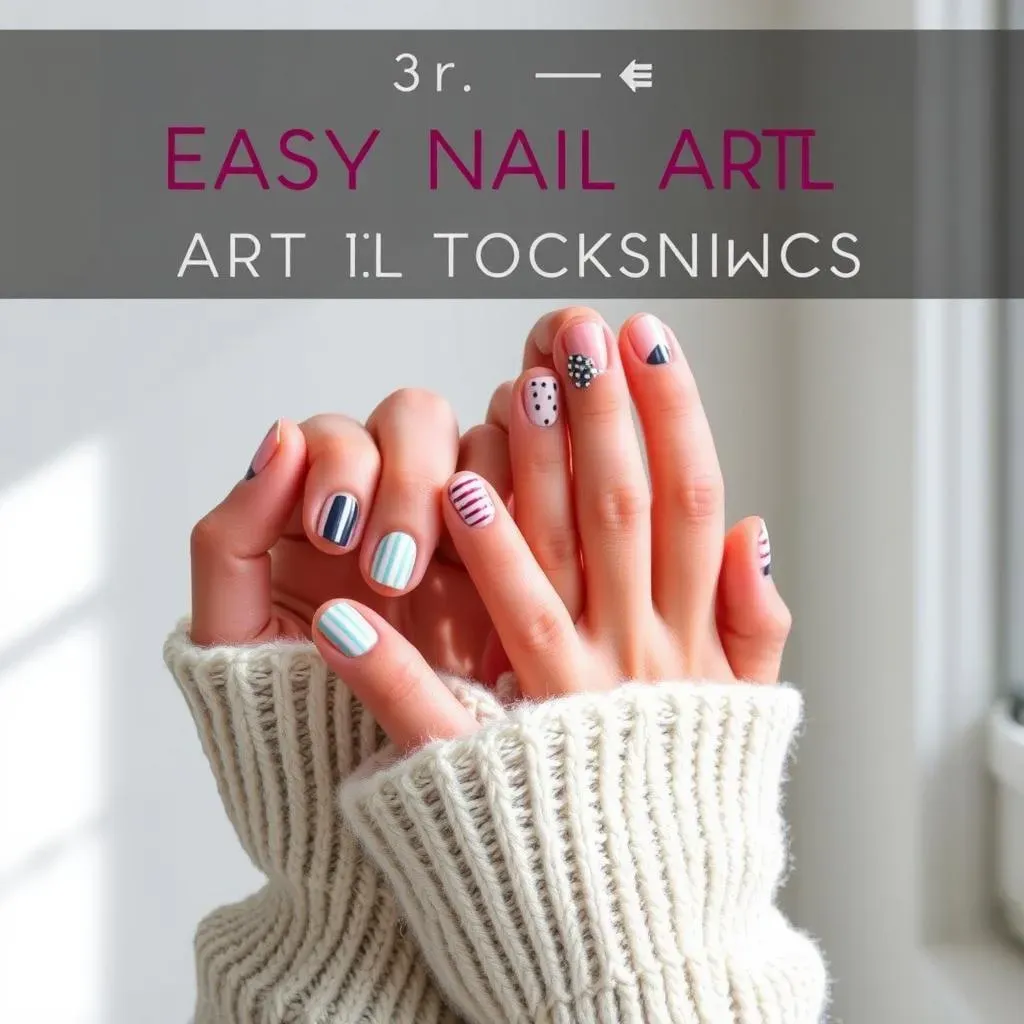
Stripes: Simple Lines, Big Impact
Let's tackle stripes! They're surprisingly easy and offer a huge impact. You can use striping tape for perfectly straight lines, or if you're feeling adventurous, try freehand painting with a thin brush. Start with simple vertical or horizontal stripes. Once you're comfortable, experiment with diagonal or even zig-zag patterns! For inspiration, check out these easy nail art line designs.
Consider color combinations! Classic black and white stripes are always chic, but you can use any color combination you like. Pastel stripes are perfect for spring, while bold jewel tones look great in the fall. Don't be afraid to mix and match! Try a rainbow of stripes or use contrasting colors for a more modern look. For more advanced techniques, explore these advanced line designs.
- Use striping tape for perfectly straight lines.
- Experiment with different brush sizes and techniques.
- Try various color combinations for a unique look.
Dots: A Beginner-Friendly Approach
Dots are another super easy technique, perfect for adding a touch of whimsy to your toes. All you need is a dotting tool (or a toothpick!) and a few different nail polish colors. Start by creating a simple polka dot pattern – it's as easy as dipping your tool into the polish and gently dabbing it onto your nails. Want to get fancy? Try creating a gradient effect by using different shades of the same color. Need inspiration? Check out these easy and cute nail designs.
Don't limit yourself to just one size of dot! Experiment with different sizes and arrangements to create unique designs. You can create floral patterns, geometric shapes, or even abstract art. The possibilities are endless! For more ideas on creating unique looks, try using a nail art pen. Check out our guide on easy nail art pen designs for more inspiration.
Tool | Effect | Example Design |
|---|---|---|
Dotting Tool | Precise Dots | Polka Dots |
Toothpick | Varying Dot Sizes | Floral Pattern |
Nail Art Brush | Detailed Designs | Geometric Shapes |
Seasonal Toe Nail Designs: From Summer Brights to Winter Wonders
Seasonal Toe Nail Designs: From Summer Brights to Winter Wonders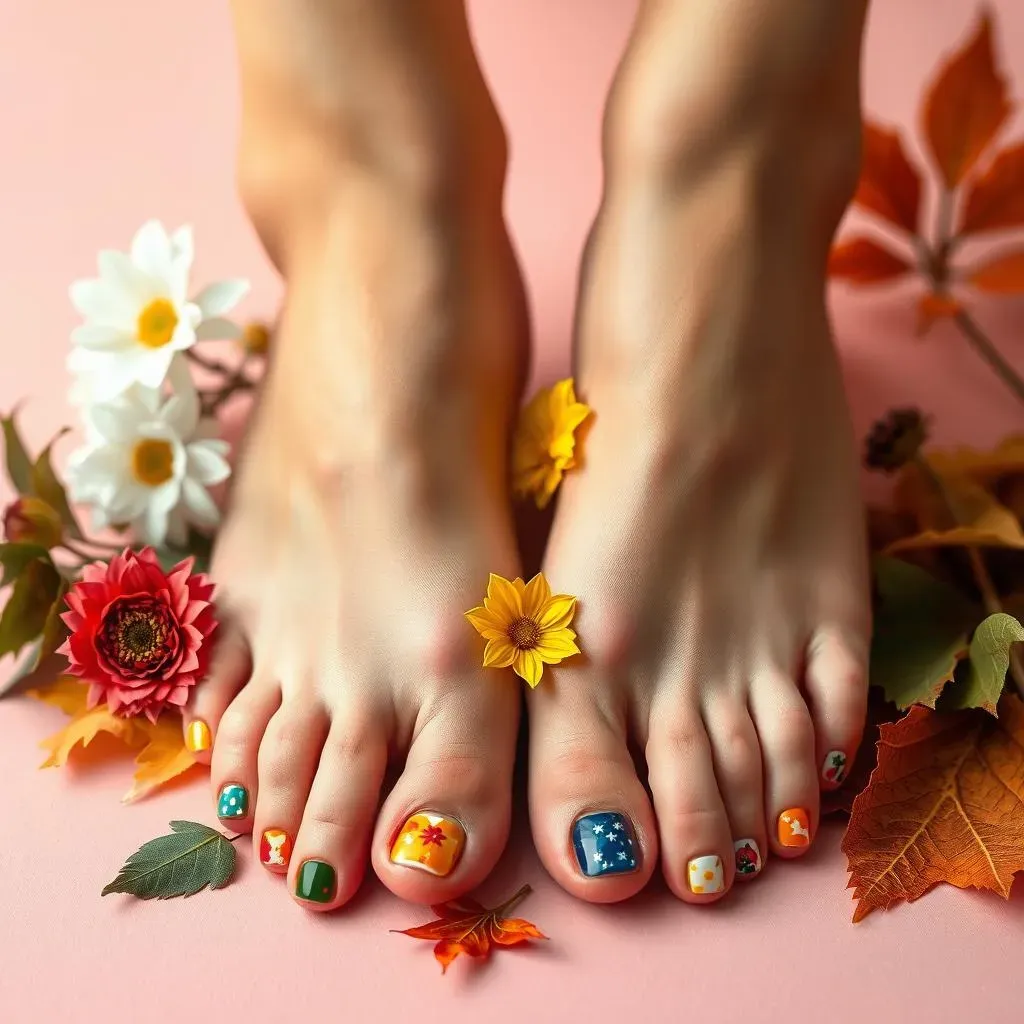
Summer Brights: Sunshine on Your Toes
Summer screams bright colors! Think vibrant oranges, sunny yellows, and sky blues. These cheerful shades perfectly complement the season's playful spirit. A simple solid color is a great starting point, but you can easily add a touch of whimsy with some easy nail art. Try adding some tiny white dots to mimic daisies, or use a thin brush to create simple stripes. For more inspiration, check out our easy cute summer nail designs collection.
Don't be afraid to experiment with different color combinations. A bright coral paired with a sunny yellow is a fun and energetic combination. Or, for a more sophisticated look, pair a vibrant turquoise with a crisp white. Remember, summer is all about having fun and expressing your individuality through your nail art! For more simple ideas, check out our simple nail designs.
- Use bright, bold colors.
- Add simple nail art for extra flair.
- Experiment with different color combinations.
Autumn Hues: Warmth and Cozy Vibes
As the leaves change color, so should your toe nail designs! Autumn is all about warm, earthy tones. Think deep reds, burnt oranges, and golden yellows. These rich colors perfectly complement the season's cozy vibes. A simple solid color in a rich autumnal shade is a great way to embrace the season. You can also create a beautiful ombre effect by blending two or three different shades together. For some autumnal inspiration, take a look at our easy Halloween nail designs (some of those colors translate well to fall!).
For a more intricate design, try adding some simple nail art. A few strategically placed leaves or pumpkins can add a touch of autumnal charm. Or, if you're feeling creative, try creating a simple geometric pattern using different shades of autumnal colors. For more simple designs, check out our easy everyday nail designs.
Color | Nail Art Idea | Overall Vibe |
|---|---|---|
Burgundy | Simple Stripes | Elegant |
Burnt Orange | Leaf Design | Playful |
Golden Yellow | Solid Color | Classic |
Winter Wonders: Festive and Frosty
Winter is the perfect time to embrace frosty whites, shimmering silvers, and deep blues. These cool tones create a sophisticated and festive look. A simple French manicure with a silver or white tip is a classic winter choice. Or, for a more playful look, try adding some snowflakes or other winter-themed designs. For winter inspiration, check out our awesome winter nail designs.
Don't be afraid to experiment with glitter! A subtle shimmer polish adds a touch of elegance, while chunky glitter creates a more dramatic effect. For a truly festive look, try incorporating some holiday-themed designs, such as Christmas trees or candy canes. For some more creative ideas, check out our amazing Christmas nail designs.
- Use frosty whites, shimmering silvers, and deep blues.
- Incorporate winter-themed designs like snowflakes.
- Experiment with glitter for extra sparkle.